This week, my colleague was building a dashboard and published it to one of our servers, however the server was on an older version of Tableau, so some of the features were missing. I was then swiftly challenged to try and go learn how to upgrade Tableau Server so we could then upgrade it.
Since I had never upgraded, or even installed a server before I thought it would be a good idea to set up a test environment in which I could install/upgrade Tableau Server before progressing to a live production server.
If you want to skip to the upgrade section click here
Creating the test environment
The first step was to create a backup file of the current live server. I needed to remote (ssh) into the server and then create a backup using the following command:
Here I encounted my first issue
tsm maintenance backup --file <filename> --append-date
Once the backup file was created I moved the file to my local machine. This was done using secure copy (scp).
The default file path for tableau server backup file is the following:
/var/opt/tableau/tableau_server/data/tabsvc/files/backups
I was able to move the file using this command
scp <username>@<url/ip address>:<file path>/<file name> <save directory>
In order to create a test environment I set up a Virtual Machine (VM). Tableau Server's minimum requirements require 4 cores and 16 GBs of RAM and 15GBs of storage. This isn't recommended for production servers but for the purposes of testing out the upgrade process this was enough.
Since it was a fresh new installation of Ubuntu18, I ran the following commands to quickly update the operating system in case I needed certain packages.
sudo apt update -> sudo apt upgrade -> sudo apt-get autoremove
To install Tableau Server, I downloaded the package from the tableau esdalt site. This resource has the download links for all the previous versions of Tableau as well so it's very easy to find the version of Tableau needed.
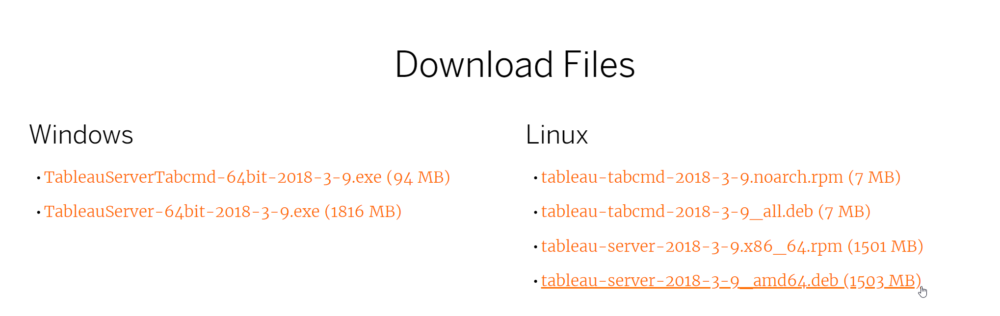
Using wget and pointing to the URL for the 2018.3 amd64.deb (the same version the server I was trying to upgrade was on) file, I downloaded the package (you could mount a drive and load an image if this is preferred) and then used gdebi to unpackage the file.

Unpackaging required this command:
sudo gdebi -n tableau-server-<version>_amd64.deb
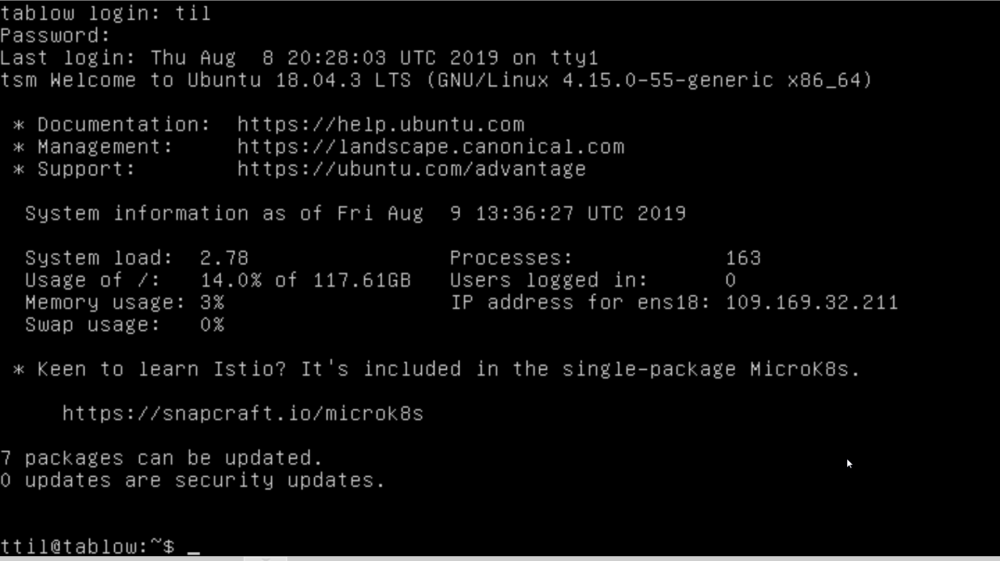
Once this was complete, I then initialised Tableau Services Manager (TSM) using the command displayed on screen:
sudo /opt/tableau/tableau_server/packages/scripts.<version>/initialize-tsm --accepteula
Here I encountered issue 2
After the tsm was initialised, I logged into the TSM Web UI on my local machine using the url 'https://<url/ip address>:8850' with the Ubuntu log in details
(if this doesn't work try sudo usermod -G tsmadmin -a <username> first then logging in again)
Here I encountered issue 3
Once in the Web UI, this is where Tableau Server is activated, so the Tableau Server product key is input as well as general server settings. The important one here is creating the identity store. This can either be local or active directory but it must be chosen now and cannot be changed later without reinstalling Tableau Server.
For simplicity I selected local authentication. The gateway port can be left at default settings. Then I just clicked 'Initialize' and off Tableau went to set up. This part took a while so I went to grab lunch at this point.
After coming back to a screen saying 'Initialization Complete' there was just step left before I could go in and check out the server.
tabcmd initialuser --server 'localhost:80' --username 'admin'
This sets up the first user on the server which will be the admin account for the server.
If you followed along, at this step uou can now log in by going to your url/ip address and using the admin log in details.
Finally I validated the server install by installing the PostgreSQL drivers
From the tableau drivers website, find the relevant driver download link (amd.deb file) and use wget and then gdebi to unpackage and install the driver (same as the server unpackaging process). Now the 'Site Status' monitoring views should be viewable on the server.
Restoring the backup to replicate the live server
The first step was to move the backup file from local machine to server. This was simply the reverse of the scp command from earlier:
scp <file name> <username>@<url/ip address>:<save directory>
It's important that this file is moved to Tableau's specific directory. By default this should be: /var/opt/tableau/tableau_server/data/tabsvc/files/backups/
This file path can be checked to be correct by using:tsm configuration get -k basefilepath.backuprestore
Once moved successfully, tsm stop was used to stop the server and then the restore command was run:tsm maintenance restore --file <file name>
This restored the instance of Tableau Server from the backup. Once completed, I relaunched the server with tsm start.
Here I encountered issue 4.
There were some database drivers that were used on the server which were not installed in the backup, so they needed to be installed onto the server as it was a fresh install. This was the same process as the PostgreSQL driver installation
Server upgrade process
Upgrading the server itself is a relatively straightforward process. However a few precautionary steps should be taken in case of a failure.
Gathering the custom configuration settings of the current server is important in case any of the settings are not transferred over correctly. This includes verifying the TSM certificate's validity using openssl s_client -connect <tsm_servername>:8850
Custom non-default ports, timeout values, custom logo images and fonts.
SMTP configuration, SSL, and login authorisation protocols should also be noted.
Some simple numbers about number of users, groups, projects, workbooks, and datasources will make it easy to perform a quick check that everything transferred correctly after the server is updated.
The server also requires some preparation, extract refreshes should be turned off, this is mostly if you have any .tde extracts and are upgrading to a version of server after 10.5 as they will automatically be upgraded to .hyper files. Additionally any subscriptions should also be turned off so that you avoid sending duplicate emails when the server is live again.
From here the steps are similar to the install steps. Using wget and the download link to the version of Tableau Server you want to upgrade to on the esdalt site. Then gdebi to unpackage and install the file. This time the initialize prompt is slightly different.
Here you want to stop the server using tsm stop and then sudo /opt/tableau/tableau_server/packages/scripts.<version>/upgrade-tsm -u <user name> --accepteula to run the upgrade script.
That's it, all that's left is to start the server using tsm start and there we have it. An upgraded version of Tableau Server with minimum down time.
Troubleshooting
Issue 1
The first time I ran this command I received an error due to the user I was logged into not having the correct permissions. This was due to the user not being in the required group - 'tableau'.
This required a simple fix of sudo usermod -a -G tableau <username>
Issue 2
I encountered an issue where I couldn't connect to zookeeper.
Unable to connect to ZooKeeper:
ERROR: TSM services returned status 10
Followed by the following when I reran the initialiser
Failed to enable unit: Unit file tabadmincontroller\\x2a.service does not exist
This seemed to be due to a hostname issue which seems to be from ubuntu18 as it likes to change its IP address randomly.
I fixed and changed the hostname using sudo hostnamectl set-hostname <newhostname>
and then editing the hosts file using sudo nano /etc/hosts
adding the following 2 lines to the top127.0.0.1 localhost
127.0.0.1 <name>

Issue 3
VM problems. I needed to switch from a private network IP to a public network IP, so I changed the network controller to access the server from my local machine.
Issue 4
Tableau Server acquired the initial user details from the backup so I needed the same admin (initial user) credentials as the live server did. I didn't have access to this so I used tsm reset to reset the initial user and then I could set it up again as it was just for my test run. I would not need to do this on the live server.
Useful Links
Tableau Backup Guide
Tableau Install Guide
Tableau Upgrade Preparations
Tableau Upgrade Guide
Contact me
If you have any questions about this process feel free to message me on LinkedIn or Twitter! @bona_wang