

Photos by Polina Tankilevitch from Pexels
Macros have a middling-ly deserved reputation for complexity in Alteryx, but I have found this often comes from daunting usecases - a 7 nested layer departmental multi-tool is never a person's first macro, but it might be the first one they hear about in a user group or technical meeting. In this blog I am going to show you the fastest way to make a macro, using modern technology's version of hot water - copy and paste.
Important: This is not the most comprehensive introduction to macros, it's the fastest. If you have more detailed questions, check out the Alteryx Community or blogs from my colleagues.
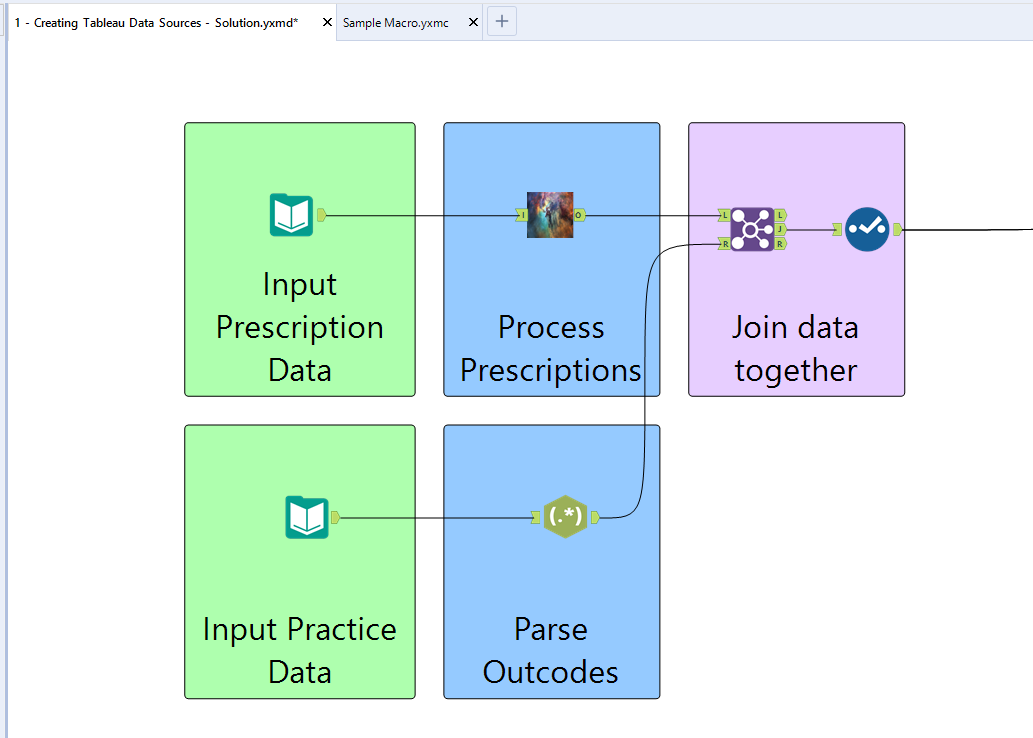
Example Workflow:
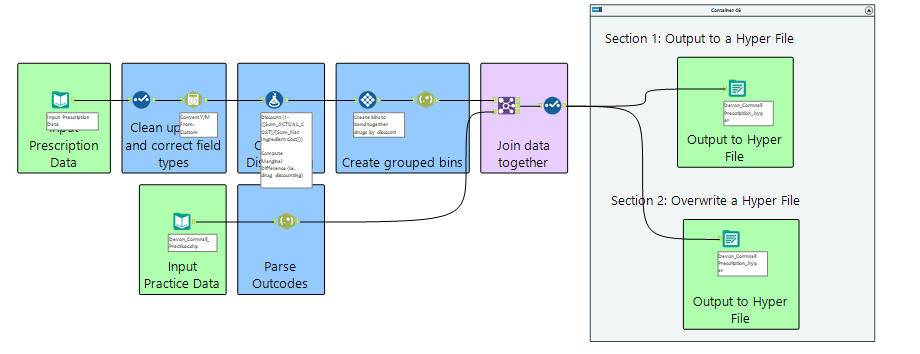
Step 1
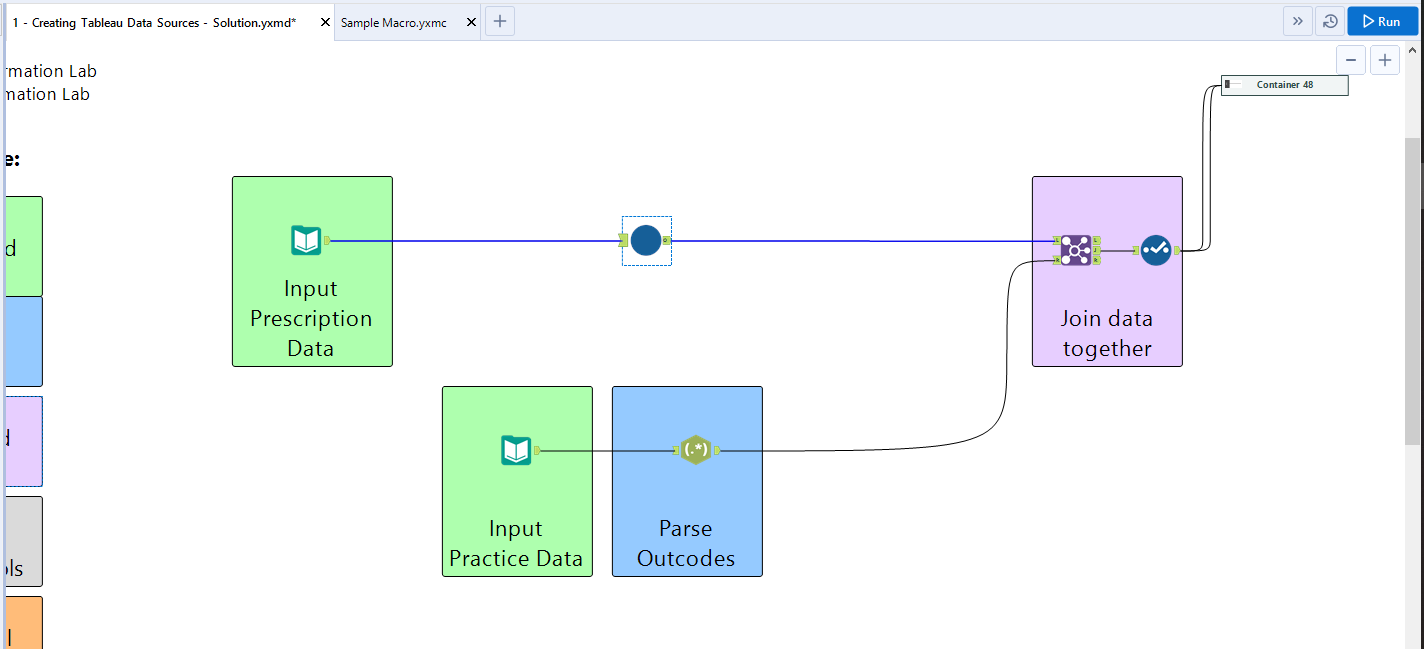
Isolate the section of workflow you want to turn into a macro (below).
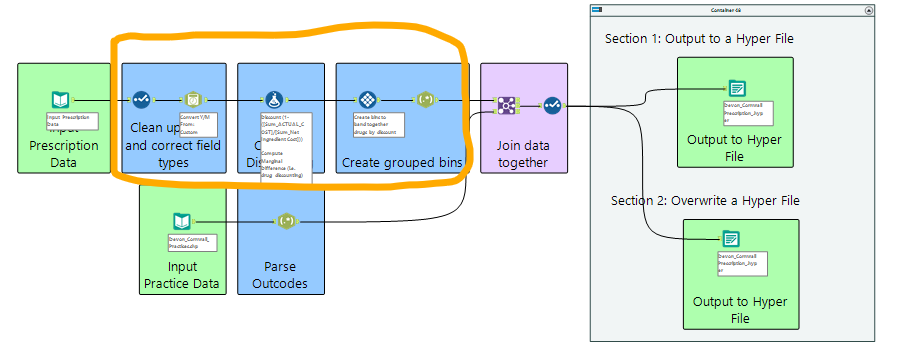
Step 2
Select the tools of the section you want to turn into a macro by clicking and dragging around them, or, if containerised, selecting the container. Copy these tools with Ctrl+C.
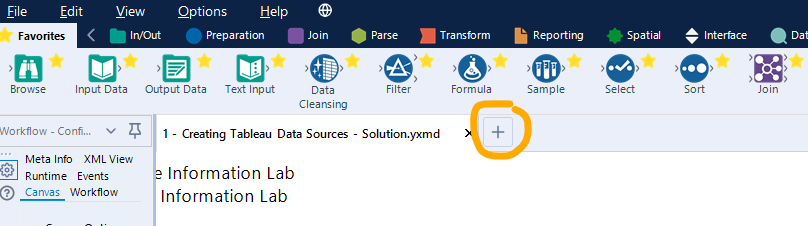
Step 3
Open a new workflow at the top of the canvas (below).
Step 4
Paste these tools into the new workflow with Ctrl+V.
Step 5
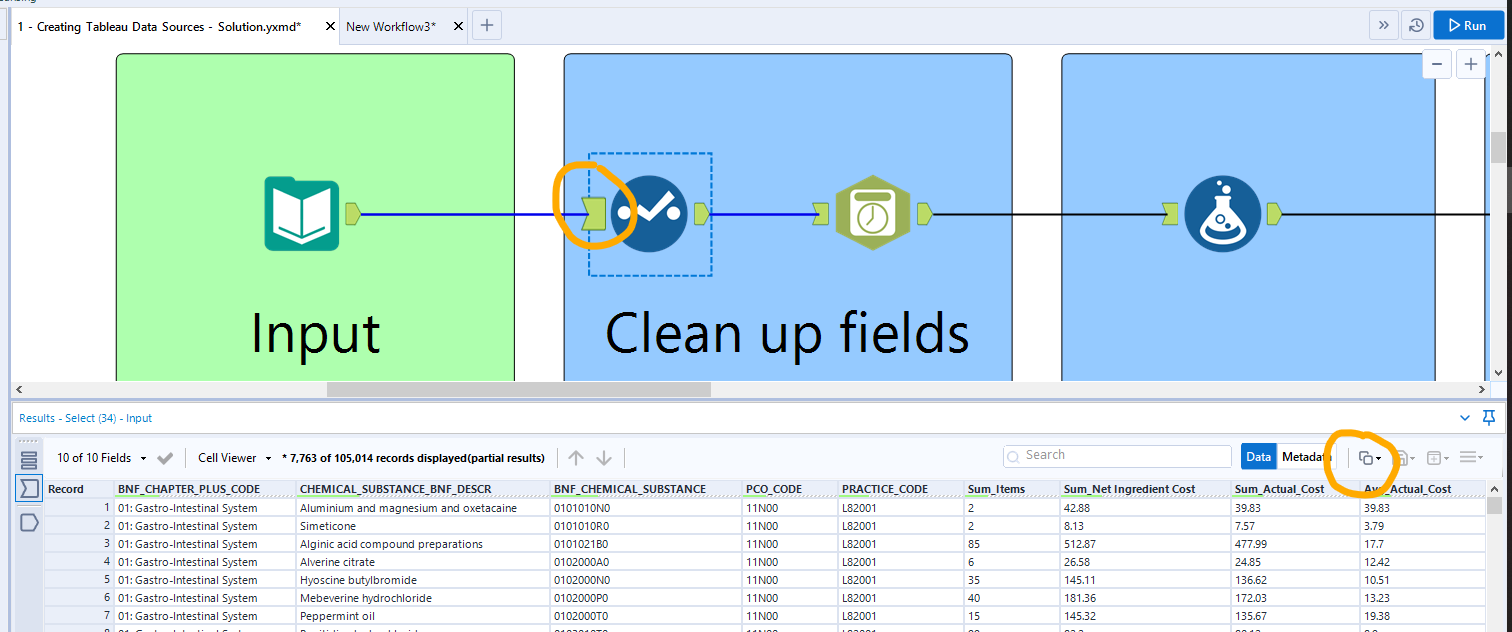
Return to your previous flow and run data through through it, before clicking on the input anchor of the first tool you copied over. Click on the squares highlighted here in the results pane and select “All Records with Headers”. This will copy a sample of your data to your computer clipboard. You may get a warning about data size but this is fine to ignore.
Step 6
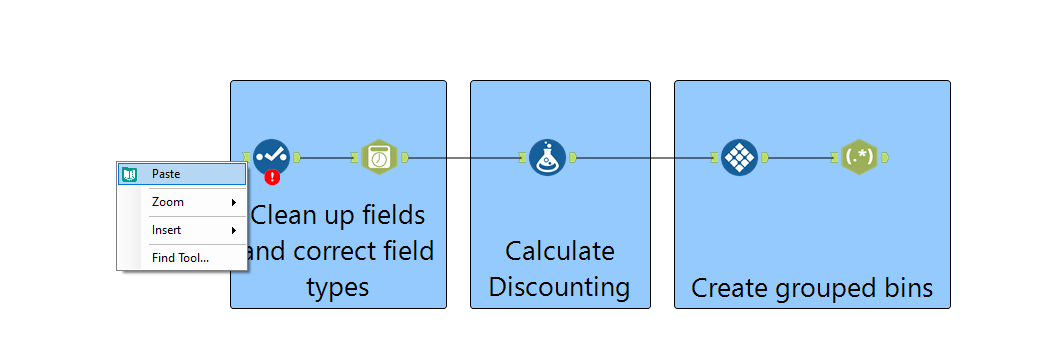
In your new workflow, right click the canvas near your first copied tool. Of your options, Select “Paste” (see below), and an Input Tool will appear on your canvas. Connect the Input Tool’s output anchor to your first tool (below).
Step 7
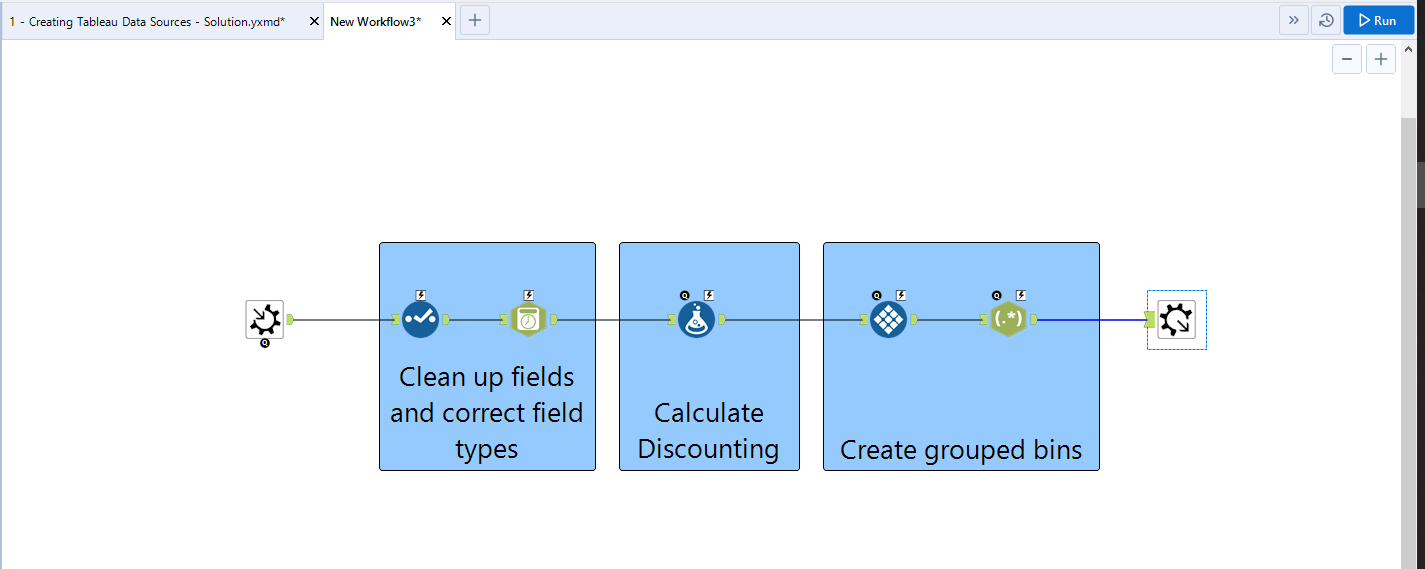
Right click on your input Tool and select “convert to Macro Input” (below). You will notice the tool icon change to kind of a cog with an arrow, and the Configuration pane will change. In the Configuration pane, change the Input Name to something like “input text data” or something that will be meaningful to people using your macro, and add an anchor abbreviation, like I for Input.

Step 8
Navigate to the Interface tool Palette and locate the “Macro Output” tool (or you can search for it), which looks like a cog with an arrow going the other way. Connect it to the last tool of your group, and amend the Output Name and anchor abbreviation like you did with the Macro Input (e.g. O for output). You should have something like this:
Step 9
Save your Macro somewhere it’s easy to access for your workflow - e.g. in a folder in your workspace called “Macros”, in the same folder as your workflow. You will notice the file type is .yxmc, which means Alteryx is treating it differently from a regular workflow.
Step 10
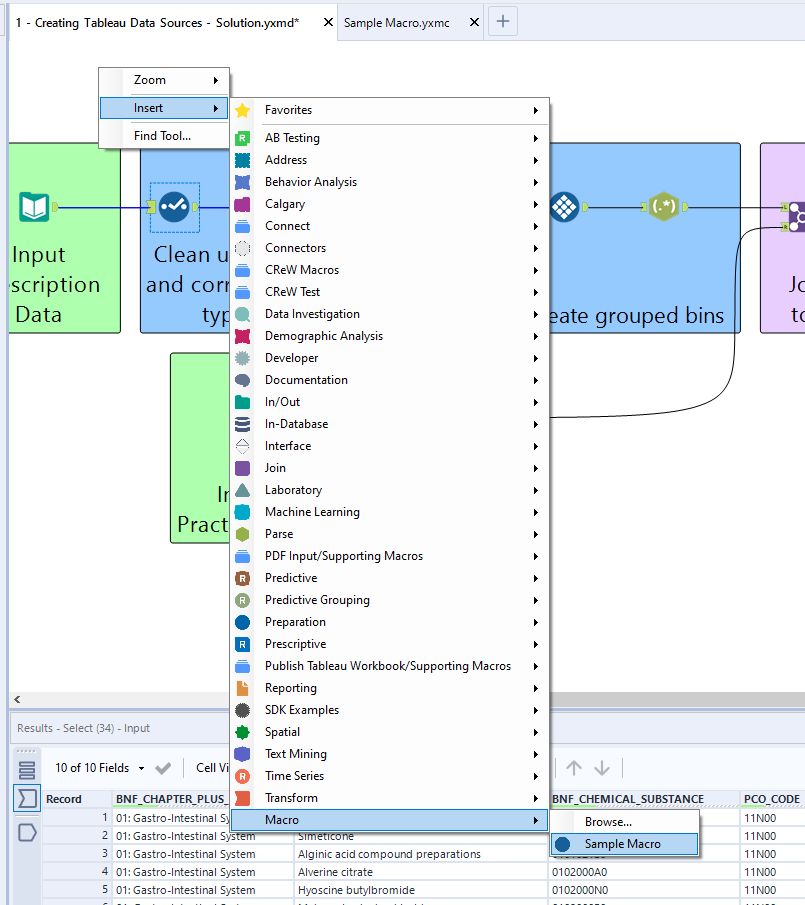
In your original workflow, Right click on the canvas near the first tool that your macro is designed to replace. You will see a menu called “Insert”, and if you hover over it, the tool palettes will appear. At the very bottom of this list is “macro” - hover over “macro” and you will see the macro you saved (below)! Click on it to add it to your canvas, and connect your data to it.
Step 11
You can run your macro in parallel with the other tools to check that you get the same output, but otherwise, you can delete your other tools and connect this one in its place (below).
Everything after this is optional, but might make your macro easier to use.
Change Icon and Add Text
Select your macro canvas. Navigate to the top toolbar and select View > Interface Designer. You may want to keep this floating over your canvas while you use it, before you hide it away (below).
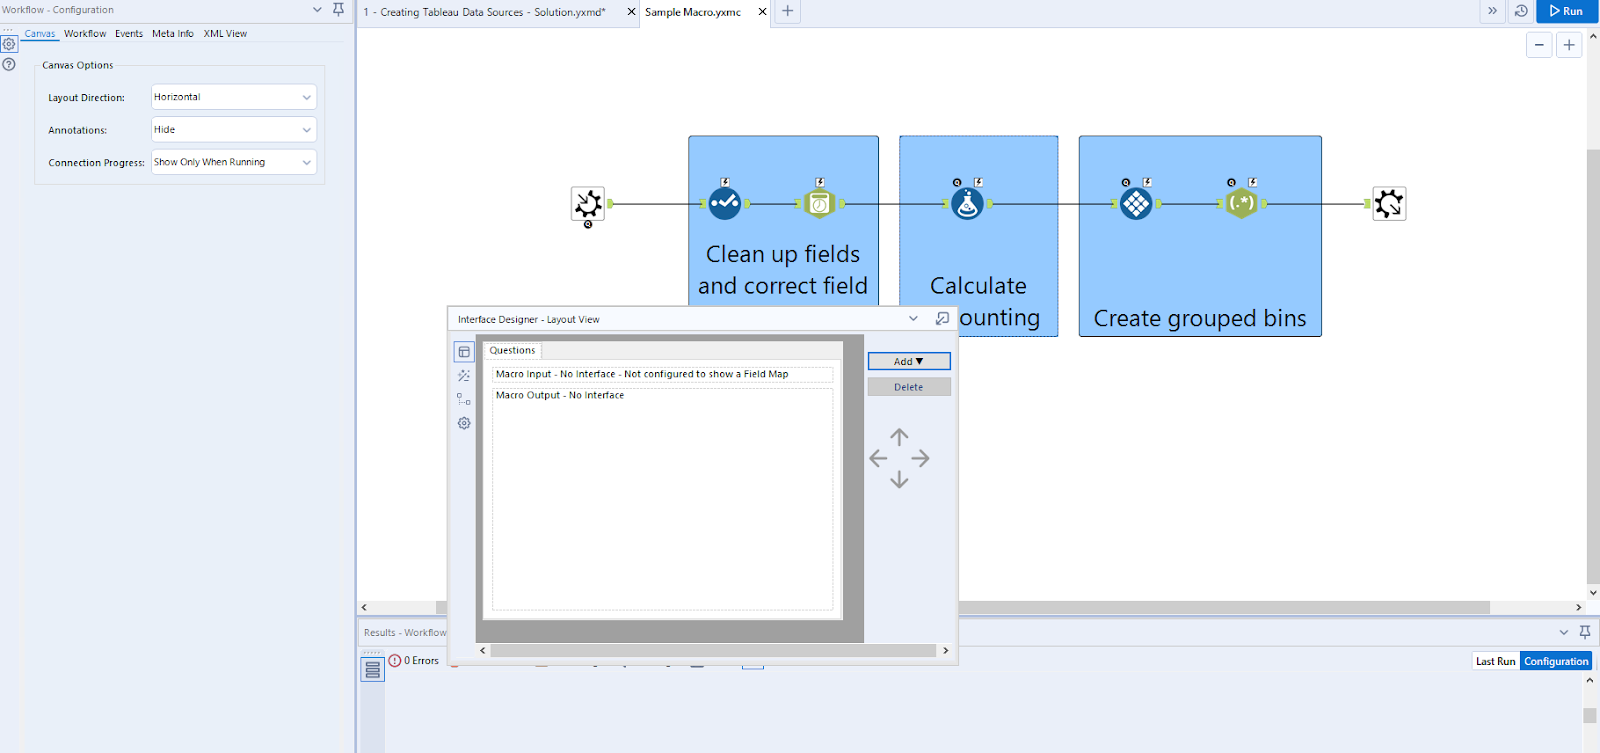
On this window, to add a message to your macro which will show on the configuration pane when you add the macro to a workflow, select “Add” and then select “label” in the dropdown.
When you select label, you will see that the configuration pane animates with the following:
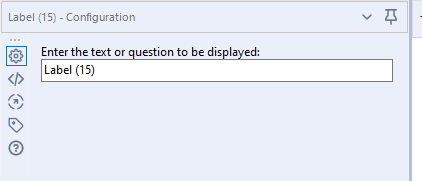
Replace the label with any text you want to show, e.g telling people what kind of input this macro accepts.
To add a custom icon, which makes your macro a lot easier to spot in a complex workflow, click on the cog on the left hand side of the Interface Designer window. You will be presented with an option about icons - you can pick a shape from Alteryx’s Tool palettes, or you can select a square image from your computer. In this tutorial, I have navigated to a custom image of the Lagoon Nebula, because I really like space stuff. You can see here you can also hyperlink to documentation, requirements or help, which could be a file or could be on an internal wiki.
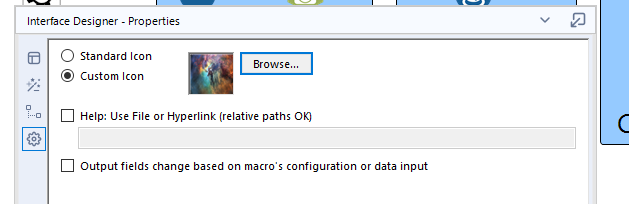
You could also custom design a logo using a shape in PowerPoint and save it as an image (which is how I do mine because it takes two minutes).
Once you have made your changes, Go to View > Interface Designer to hide this window, and then save your macro workflow. When you navigate back to your main workflow, Alteryx should tell you that it’s refreshed your macro with this message;

If you don’t get this, check you’ve saved it.
I can now tidy my workflow up a bit, to give the below result.
Thanks for joining me on this guide to nearly instant macro builds!