

The gallery and districts are a hugely powerful asset to any Alteryx Server deployment.
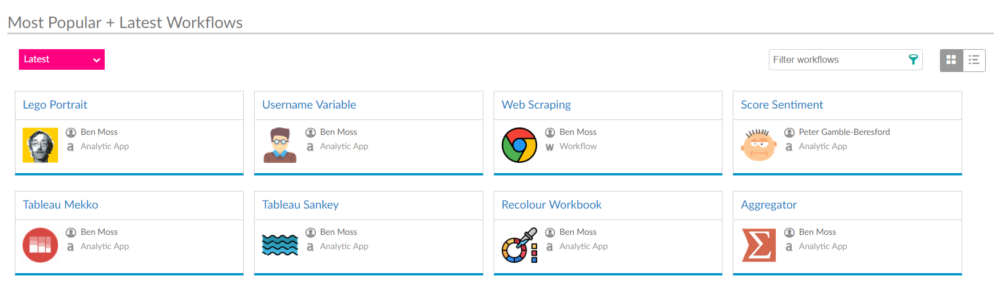
The gallery allows content curators to easily share content with their entire business that they feel could be useful; in that sense, the use-cases for using the public gallery are generic, and shouldn't contain sensitive information.
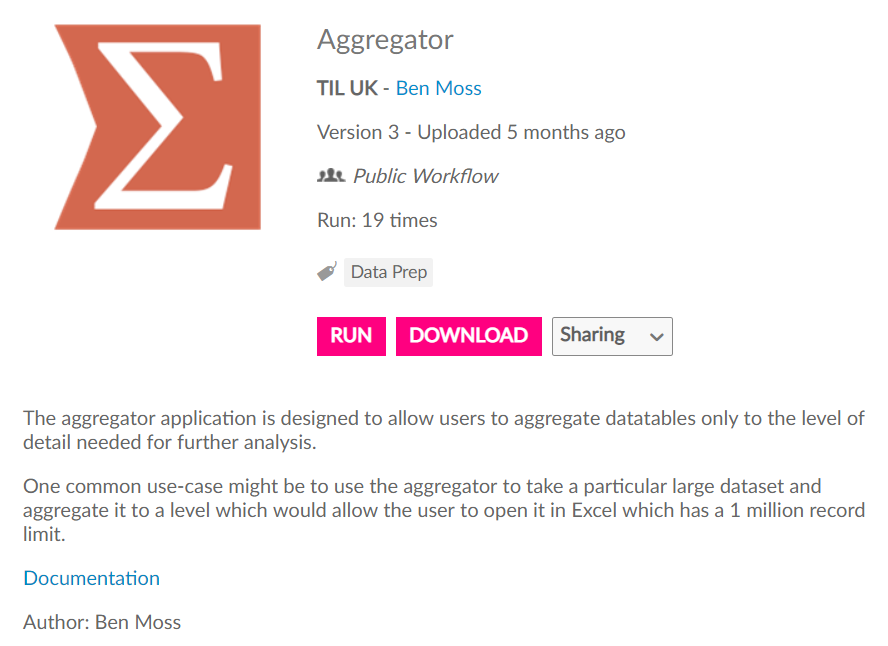
An example that I like to share with our customers is an application we have designed called the 'Aggregator'. It allows users to utilise the power of the summerize tool, without having to have Alteryx Designer installed on their machines.
Once you have many examples of this type of content the gallery may become unwieldy and difficult to mange, this is where districts can become useful, as they allow categorisation of public content.
The above statement is key; only public content can be categorised into a district.
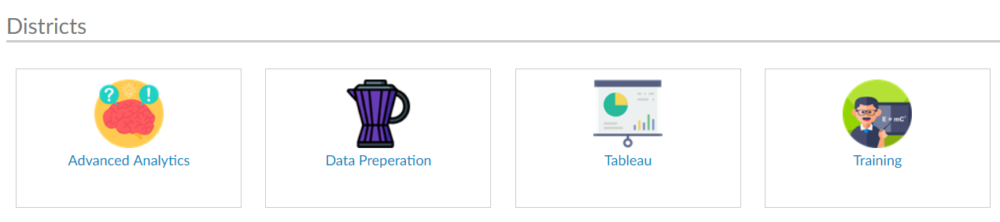
In our server environment we have 4 districts set-up, containing different types of public workflows and applications.
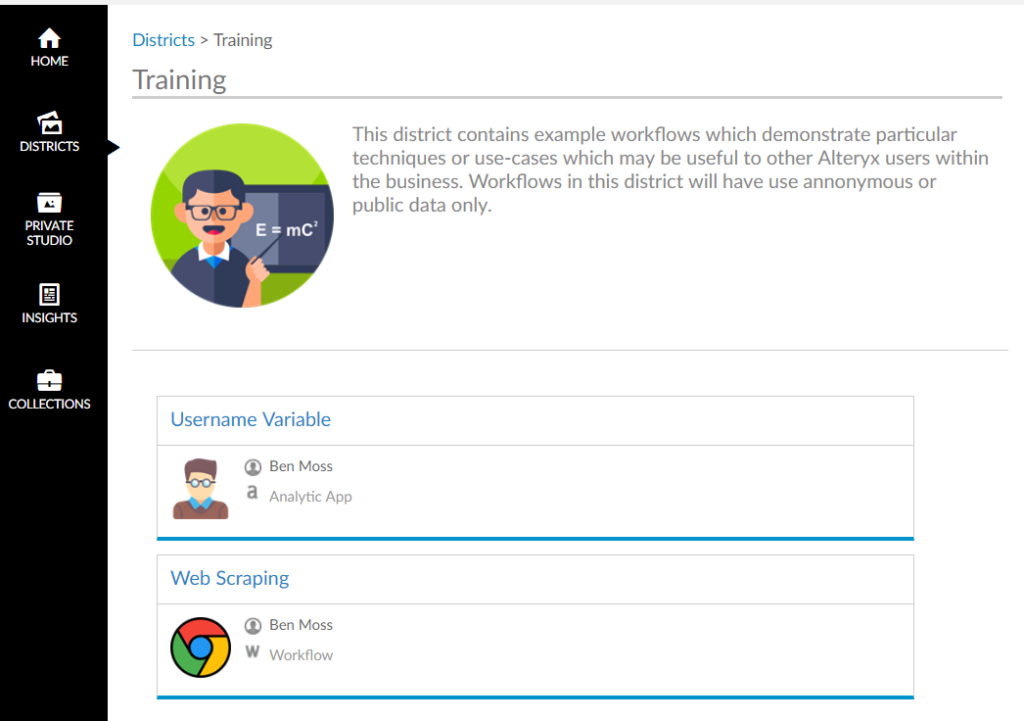
The training district is perhaps something I'd like to see adopted by other companies who use Alteryx Server; this district contains workflows which demonstrate to users advanced use-cases of the product; showing them what is possible, and how it is possible.
In our case, these workflows are curated via real use-cases for our business, before sensitive content is removed so it can be shared with the wider audience.
So, how do we actually add stuff to this to the public area of our gallery as a content curator, and then how can we categorise said content into districts
First things first, we must publish our workflow into our companies gallery by going to, through Alteryx Designer, 'File' > 'Save As' > 'My Companies Gallery'.
Once the workflow has been published, it will exist within our private studio, visible only to other artisans of said private studio.
In order to share the workflow into the public environment, we can use the 'share' button which appears on the home page for the workflow/application that we are looking to share.
You can then hit the 'Place in [insert gallery name] gallery' button.
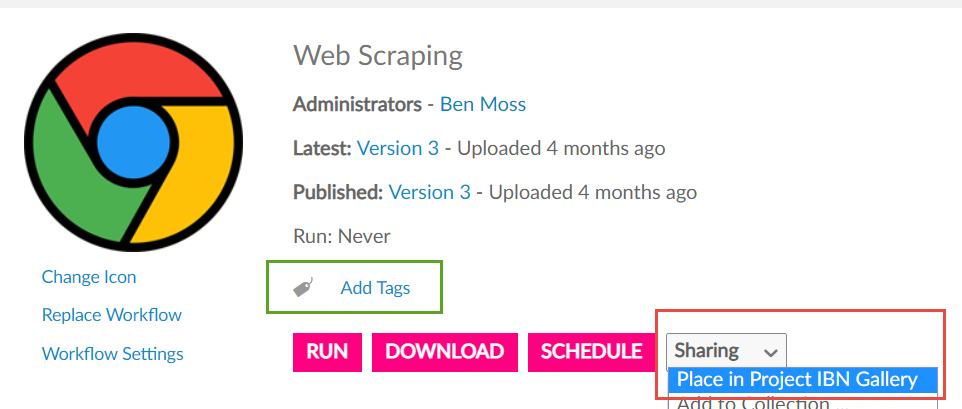
When sharing, another option available is 'Add to Collection', we'll cover this on a later date!
This process will place your workflow/application into the public gallery.
In order to categorise your workflow into a district, you must use the 'Add Tags' option, also available on the workflow home page (highlighted in green above).
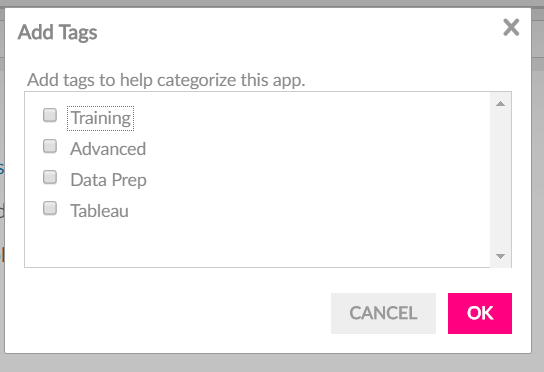
The list of 'tags' available to select from is created by administrators, who, when creating districts, give a tag which associates workflows to those districts.
The process for adding a tag, and then associating the tag with a district is as follows...
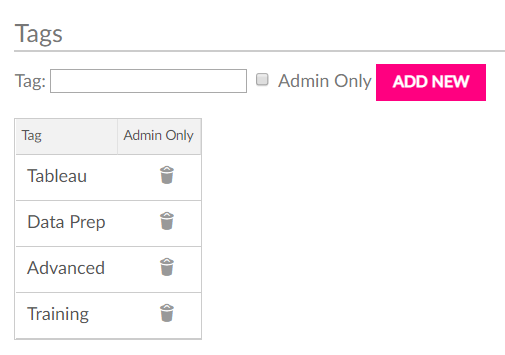
Go into the 'Admin' console, by hitting the settings cog in the top right of the server interface, and hitting 'ADMIN'.
On the 'Workflows' tab, users can then scroll to the bottom, where there is a simple menu to add tags.
Once the tag has been created, the administrator must then associate this with a district. This starts by navigating to the 'Districts' tab in the admin console.
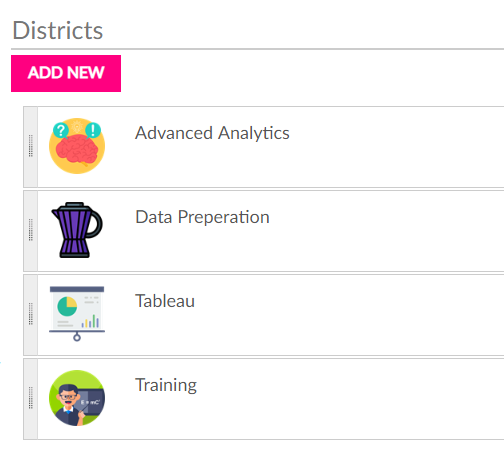
Here the user will be presented with a list of existing districts, in order to add a new district you simply select the 'ADD NEW' button (note, we have customised our interface, so button colours and so on may be different throughout!).
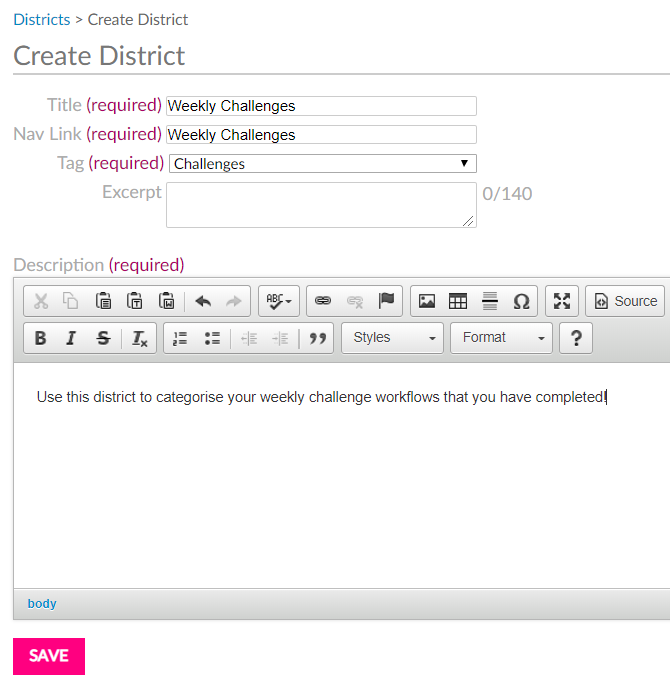
This will bring up a window that allows you to create a district. Users should specify the name of the district and also the name given in the 'nav link' (this is the hyperlink text given on the district home page, usually this would be the same as the name of the district).
Users should also give a description for their district, which is visible when someone lands on the district home page.
Too add an image, you must first 'SAVE' the district, and then edit the district, and the ability to add an image will appear.
Once you have created your tag and district, users are able too categorise their public content accordingly (and administrators, this is something you should be monitoring!).
Hopefully, this is enough to get you started with districts!
Ben